Trimble MX Software FAQ
- Open Windows Firewall with Advanced Security.
- Select Outbound Rules.
- Click New Rule.
- Rule type: Port
- Specific remote ports: 443
- Select Allow the connection or Allow the connection if it is secure.
- Select the desired network type(s).
- Enter a name for the new rule.
- To grant access to only specific programs, right-click the rule to open its properties, and select the program (for example, Trimble.exe) that has access through this port. Otherwise skip this step to allow access to all programs.

Go to kb.orbitgt.com and search for Orbit 3DM Plugins. Follow the instructions on that page. For installation instructions, open the page about the specific requirements related to the host application (e.g. 3DM Plugin for QGIS). If you have any problem, search the Trimble MX Publisher Issues page in our knowledgebase for solutions.
Go to Preferences > Startup. Select the desired language and restart the software.
While TMX developers manage the english tags, partners maintain other available translations. If you would like to adjust, complete or start a translation, please contact imaging_support@trimble.com.
See also Orbit Desktop Startup Configurations.
Imaging Support will support the usage of Trimble MX with any data, even if it's not coming from a Trimble system. However, Imaging Support will not support the import into Trimble MX of data which was not exported to TMX from TBC or Trident (currently MX2, MX7, MX9, MX50 and X7).
Vertical coordinate systems (mostly geoids) are not available in TMX by default but they can be added by following the steps described under Vertical CRS Definitions in Vertical CRS Definitions.
As you can see, many vertical CRS definition files are already available, but if you want to add your own vertical CRS definition, you will need to contact imaging_support@trimble.com and send your own grid file in one of these formats:
- Supported raster resource, see Supported Resources
- Esri ASCII raster file
- XYZ ascii file space, comma or semicolon separated
- ggf (e.g. taken from C:\ProgramData\Trimble\GeoData)
The regular workflow (with Trimble Business Center 5.90.1) does not allow importing point cloud classes to TMX. Here's a workaround:
- In TBC:
- Select the run(s) or mission and export with Export to TMX. Do not export scans.
- Select the same run(s) or mission and export with Export to LAS (Trajectory Split).
- Then do one of the following to update the template:
- Get the latest template for your system (version 1.3 or higher) from geospatial.trimble.com.
- If your current template is version 1.2 or lower, modify your current template by doing the following:
- In your file browser, go to [run template folder]\pointcloud\ and open the point_cloud.write.options.ini file with a text editor.
Add exactly this line (case sensitive):
write.attribute.Classification=true
Save and close the file.
- In TMX:
- Import the mapping resource using the updated template.
- At the Import Point Cloud step, select the LAS file you exported using the Export to LAS (Trajectory Split) tool.
- Create two vector files: one line, one area (polygon).
-
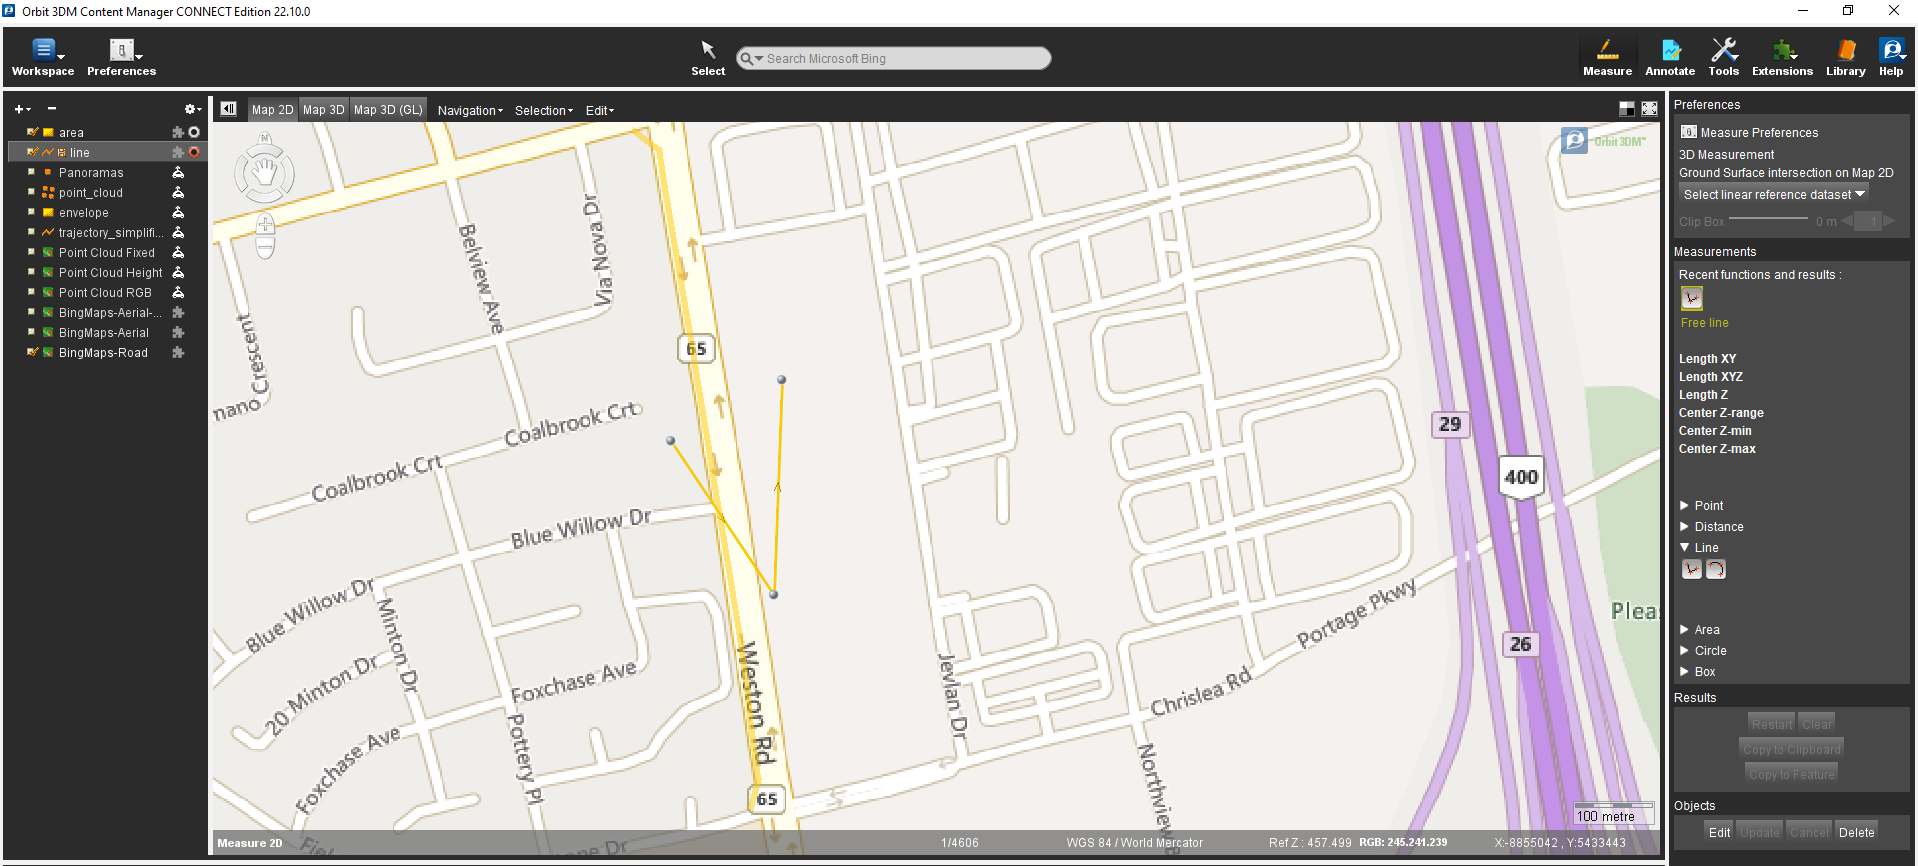
Create a linear measurement and save it to the line vector dataset. The polyline doesn’t need to be closed (first point = last point); the tool will automatically close the polygon.

- Make the area vector dataset recordable.
- Select the linear objects you want to transform to polygons.
-
Go to the 2D Map > Tools > Edit > Duplicate object. The selected line objects will be copied as polygons into the area vector dataset.

Images should be optimized at the same compression level as the original JPEG images. Panoramic images (MX7, MX50, MX9) have a quality of 85%. Planar images (MX9) have a quality of 90%.
Reducing the quality will result in smaller image (.omi) files but with a lower level of details. Increasing it will result in larger files but won't increase the level of detail.
A critical vulnerability was identified in December 2021 for applications using Apache Log4j2. The log4j package is not used by any part of the Trimble MX software and so it is not impacted by this publicly announced vulnerability. See kb.orbitgt.com/platforms.
Last modified
17 December 2021
There is a dedicated product-installer for each Trimble MX product. This is an executable for standalone products (Trimble MX Asset Modeler, Trimble MX Content Manager) and an installation package for server-based products (Trimble MX Asset Modeler Client and Server, and Trimble MX Publisher).
The option to change or edit a theme after creation is currently unavailable. Here is a workaround:
- Export the theme as an OVF file.
- Remove the theme that you just exported.
- Open the OVF.
- Edit all the fields you like in the OVF.
- Optional: Change the symbology from the legend editor to something you like because you cannot change it after import.
- Import the OVF as a theme and it should contain all the modifications you made.
By default, the snapshot and documents of the asset inventory are saved in <client installation folder>\client\data\inventories.
To change the default location:
- Open <server installation folder>\server\program\services\ext_inventory_suite\properties.ini.
-
Change the value after PATH.DOCUMENTS=
Default: PATH.DOCUMENTS=<SYSTEMPATH>/../data/inventories
Example: PATH.DOCUMENTS=//Computer/Data/Temp
See Workflow Bulletin - TRIMBLE MX - Data Publication in ArcMap via Postgres Sequel Database.
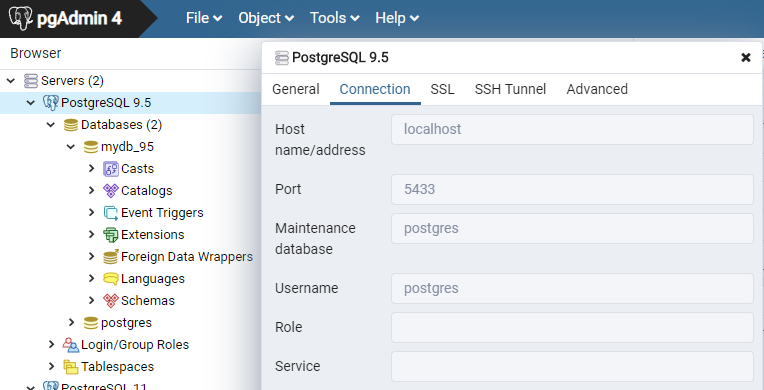
The default port to use is 5432, but it may be different, e.g. if there are more than one server.
To check the port number used by a server, open pgAdmin, right-click on the server > Properties > Connection:

The EOS Console traditionally worked with Adobe Flash. On December 31, 2020 Flash was discontinued and since then it is not possible to open on most of the major web browsers. To resolve this issue, an Adobe AIR version of the console was released. Here's how to open it:
- Download trimble_mx_eos_console.zip from https://geospatial.trimble.com/products-and-solutions/trimble-mx-office-software > Download Current Version > TMX Asset Modeler Client/Server.
- Extract the file.
- Start the console by running "[extracted folder location]\eosconsole\Trimble MX EOS Console.exe".
The correct camera height value is required for the ground surface intersection and reference plane intersection measure techniques in Trimble MX. This value has to be updated in the orbit_mm_run.omr file of your run and of your run template to apply this to all future runs to be imported. The parameter to update is photo.camera.height and the value to enter is the height of the center of the panoramic camera from the ground. To calculate this value, take the installation height (or origin height) and add the height of the camera from the origin. The calculation depends on the system:
- MX2: photo.camera.height = OriginHeight + ORI2SUP_DZ (can be found in the C3D table of the TRIDB)
- MX7: photo.camera.height = installation height (can be found in the mission report, under Mission Configuration > Vehicle Preset > System.MountHeightAboveGround) + 0.3765 m.
- MX9: photo.camera.height = installation height (can be found in the mission report, under Mission Configuration > Vehicle Preset > System.MountHeightAboveGround) + 0.442 m.
The same value will be used for all the cameras. Therefore, Trimble recommends not using the ground surface intersection or reference plane intersection measure techniques with the planar cameras of the MX9.
Create a copy of a panorama image and mask the car out with a solid color. The rest of the image must be transparent. The final mask file must be in (.png) format.
If the png file has any DPI resolution value, it cannot be added into TMX. Before adding the mask into TMX, check the file properties, for example in Irfanview and delete any values for DPI resolution and resave.
Multiple base maps can be added to the HTML5 publication but they are displayed one at the time.
Follow the Trimble MX Publisher update procedure.
If you want the users to be able to open non-public publications (for which login is required) without having to enter their credentials:
- The only difference on the Trimble MX Publisher side is the URL to open a publication will end with "?autologin" (e.g. "http://localhost:1111/publication/East?autologin").
- To implement this, you must implement something in the proxy, so when it sees this request (a URL ending with "?autologin"), it sends the credentials to Trimble MX Publisher. To do this, you (or most likely your IT) will have to implement what's described in this page: 3DM Publisher - Advanced Configurations. If needed, you can follow this: Example: Enable Bentley IMS Login.
Yes you can. Make sure the required files for the vertical CRS are added to the CRS folder ([Installation Folder]\server\program\system\crs\).
In Trimble MX Publisher version 20.9, at least one of the publication resources must be defined with the compound CRS in the .ord file [Horizontal CRS + Vertical CRS].
Optimize the run (select Procedures / Administration / Mobile Mapping / Optimize Imagery), so the corresponding HTML5 indicator is green in the Catalog list. If the indicator is red but the images are already optimized, right-click the indicator and select Calculate data volume and Calculate Image Availability to update the catalog list information.
If the run is still not HTML5-ready, hover the mouse pointer on the indicator to view a message suggesting the reason. Apply the suggested solution and update the catalog list information once again.
The publication of a run in version 18 or 19.30 opens two windows, one for the flash viewer and one for the HTML5 viewer. To make sure the web browser is not blocking the pop-up of the window, add the publisher’s URL to the allowed list of the web-browser. To do this in Google Chrome, select Settings > Content Settings > Popups > Add.
A web map service (WMS) requires both an Orbit Tile Map Service (.otm) file and an Orbit Resource Descriptor (ord) file to be used in Trimble MX Publisher version 19.30.
See below an example with the required fields of the (.otm) file. The .ord) file is also needed to define the Coordinate Reference System (CRS) of the service.
Format=WMS
MapUrl=https://sgx.geodatenzentrum.de/wms_topplus_openImageFormat=image/png
Layer=p5
CRS=25832
PixelSize=0.5
Last modified
10 August 2023
